> ## Documentation Index
> Fetch the complete documentation index at: https://docs.trieve.ai/llms.txt
> Use this file to discover all available pages before exploring further.
# Azure Self Hosting
> Learn how to self-host Trieve on Azure
# Installing Trieve on Azure (AKS)
Things you need
* Domain name
* An allowance for at least 8vCPU for G and VT instances
* helm cli
* azure cli
* kubectl
* k9s (optional)
## Clone the Trieve repository
```sh theme={null}
git clone https://github.com/devflowinc/trieve.git
cd trieve
```
## Login to Azure
```sh theme={null}
az login
```
## Provision Terraform
Azure should be configured with your IAM credentials chosen. Run the following commands to create the AKS cluster
```sh theme={null}
cd terraform/azure
terraform init
terraform apply
```
### Login to the cluster
Set up your kubeconfig to point to the new cluster
```sh theme={null}
az aks get-credentials --resource-group trieve --name trieve
```
### Install Ingress nginx + Cert Manager
Ingress-nginx + Cert manager is how we will expose the trieve services to the internet.
Feel free to use whatever ingress controller you are comfortable with.
```sh theme={null}
# To install ingress-nginx
kubectl apply -f https://raw.githubusercontent.com/kubernetes/ingress-nginx/controller-v1.12.0-beta.0/deploy/static/provider/cloud/deploy.yaml
# To install cert-manager
kubectl apply -f https://github.com/cert-manager/cert-manager/releases/download/v1.16.2/cert-manager.yaml
# To install ClusterIssuer
kubectl apply -f https://raw.githubusercontent.com/devflowinc/trieve-helm/refs/heads/main/charts/trieve/test-production/cluster-issuer.yaml
```
## Install Trieve
### Download values.yaml file
```sh theme={null}
wget https://raw.githubusercontent.com/devflowinc/trieve-helm/refs/heads/main/charts/trieve/values.yaml
```
For full configuration options, the values.yaml contains comments and examples. More information can be found in the [Trieve Helm Chart](https://github.com/devflowinc/trieve-helm/tree/main/charts/trieve) repository.
### Modify domain names for ingresses
```yaml values.yaml {4} {15} {20} {29} {34} {48} {57} {66-69} {73-74} theme={null}
domains:
dashboard:
disabled: false
host: dashboard.yourdomain.com
class: nginx
# Annotations for the ingress
# Annotations for the service that the ingress points to
annotations:
kubernetes.io/ingress.class: nginx
acme.cert-manager.io/http01-edit-in-place: "true"
cert-manager.io/cluster-issuer: "letsencrypt"
nginx.ingress.kubernetes.io/ssl-redirect: "true"
tls:
- hosts:
- dashboard.yourdomain.com
secretName: dashboard-domain
serviceAnnotations: {}
server:
disabled: false
host: api.yourdomain.com
class: nginx
annotations:
kubernetes.io/ingress.class: nginx
acme.cert-manager.io/http01-edit-in-place: "true"
cert-manager.io/cluster-issuer: "letsencrypt"
nginx.ingress.kubernetes.io/ssl-redirect: "true"
tls:
- hosts:
- api.yourdomain.com
secretName: api-domain
serviceAnnotations: {}
search:
disabled: false
host: search.yourdomain.com
class: nginx
annotations:
kubernetes.io/ingress.class: nginx
acme.cert-manager.io/http01-edit-in-place: "true"
cert-manager.io/cluster-issuer: "letsencrypt"
nginx.ingress.kubernetes.io/ssl-redirect: "true"
tls:
- hosts:
- search.yourdomain.com
secretName: search-domain
serviceAnnotations: {}
chat:
disabled: false
host: chat.yourdomain.com
class: nginx
annotations:
kubernetes.io/ingress.class: nginx
acme.cert-manager.io/http01-edit-in-place: "true"
cert-manager.io/cluster-issuer: "letsencrypt"
nginx.ingress.kubernetes.io/ssl-redirect: "true"
tls:
- hosts:
- chat.yourdomain.com
secretName: chat-domain
serviceAnnotations: {}
## ...
config:
## For the frontend to communicate
vite:
apiHost: https://api.yourdomain.com/api
searchUiUrl: https://search.yourdomain.com
chatUiUrl: https://chat.yourdomain.com
dashboardUrl: https://dashboard.yourdomain.com
## For the backend oidc server
oidc:
issuerUrl: "https://auth.yourdomain.com/realms/trieve"
authRedirectUrl: "https://auth.yourdomain.com/realms/trieve/protocol/openid-connect/auth"
```
Install the helm chart. Ensure it is installed twice
```sh theme={null}
helm repo add trieve https://devflowinc.github.io/trieve-helm/
helm repo update
helm upgrade -i -f values.yaml trieve-local trieve/trieve
helm upgrade -i -f values.yaml trieve-local trieve/trieve
```
You will need to install the helm chart twice to ensure the crds are installed and ConfigMap's are updated properly.
### Verify the installation
After installing, `kubectl get deployments` should look like this.
```
NAME READY UP-TO-DATE AVAILABLE AGE
bktree-worker 1/1 1 1 14m
chat 1/1 1 1 14m
crawl-worker 1/1 1 1 14m
dashboard 1/1 1 1 14m
delete-worker 1/1 1 1 14m
group-worker 1/1 1 1 14m
ingest 10/10 10 10 14m
keycloak-operator 1/1 1 1 46m
redis 1/1 1 1 46m
search 1/1 1 1 14m
server 3/3 1 0 14m
sync-qdrant 0/0 0 0 14m
word-worker 1/1 1 1 14m
```
### Set Ingress
#### Get Ingress ip address
```sh theme={null}
kubectl get ingress
```
You will get an output like this:
```sh theme={null}
ingress-chat nginx chat.yourdomain.com 4.157.193.10 80, 443 7m43s
ingress-dashboard nginx dashboard.yourdomain.com 4.157.193.10 80, 443 7m43s
ingress-keycloak nginx auth.yourdomain.com 4.157.193.10 80, 443 20m
ingress-search nginx search.yourdomain.com 4.157.193.10 80, 443 7m43s
ingress-server nginx api.yourdomain.com 4.157.193.10 80, 443 7m43s
```
#### Add A records
Add A records to your domain registrar with the IP address of the ingress.
```
chat.yourdomain.com -> 4.157.193.10 # Example IP
dashboard.yourdomain.com -> 4.157.193.10 # Example IP
search.yourdomain.com -> 4.157.193.10 # Example IP
api.yourdomain.com -> 4.157.193.10 # Example IP
```
Ensure you run `helm upgrade -i -f values.yaml trieve-local trieve/trieve` after making changes. to apply them.
The Trieve server will not start if the keycloak domain is not set correctly. Redirect urls will need to be set for login to work.
To configure the redirect urls, see [Setup Keycloak redirect urls](#setup-keycloak-redirect-urls)
## Post Installation
### Setup Keycloak redirect urls
* Navigate to auth.yourdomain.com
* Log in using the default credentials:
* Username: admin
* Password: password
* Switch the Realm from "master" to "trieve"
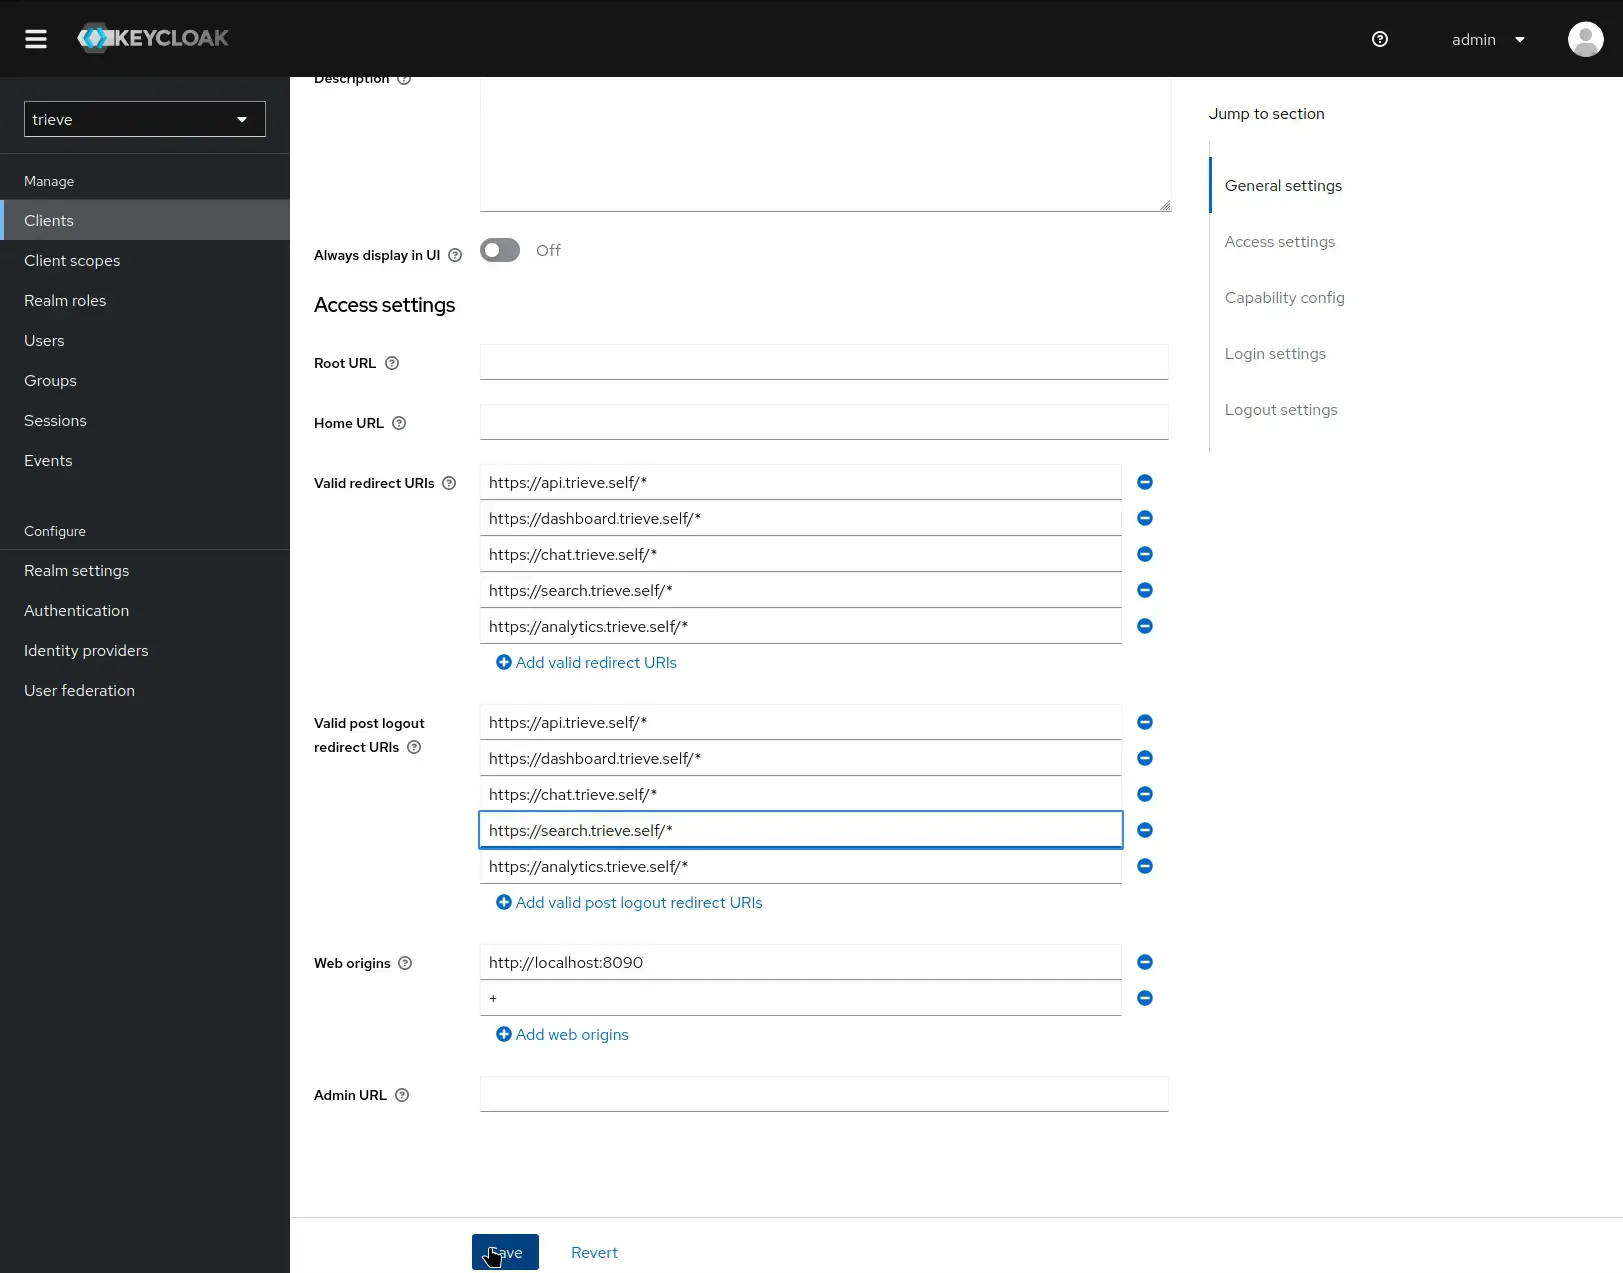
* Navigate to Clients → trieve → Settings
* Configure the Valid Redirect URIs and Valid Post Logout Redirect URIs (ensure it is https)
### Verify Your Installation
Follow these steps to confirm your Trieve instance is working correctly:
Navigate to `dashboard.yourdomain.com` in your browser. You'll be prompted to register a new user account since this is a fresh installation.
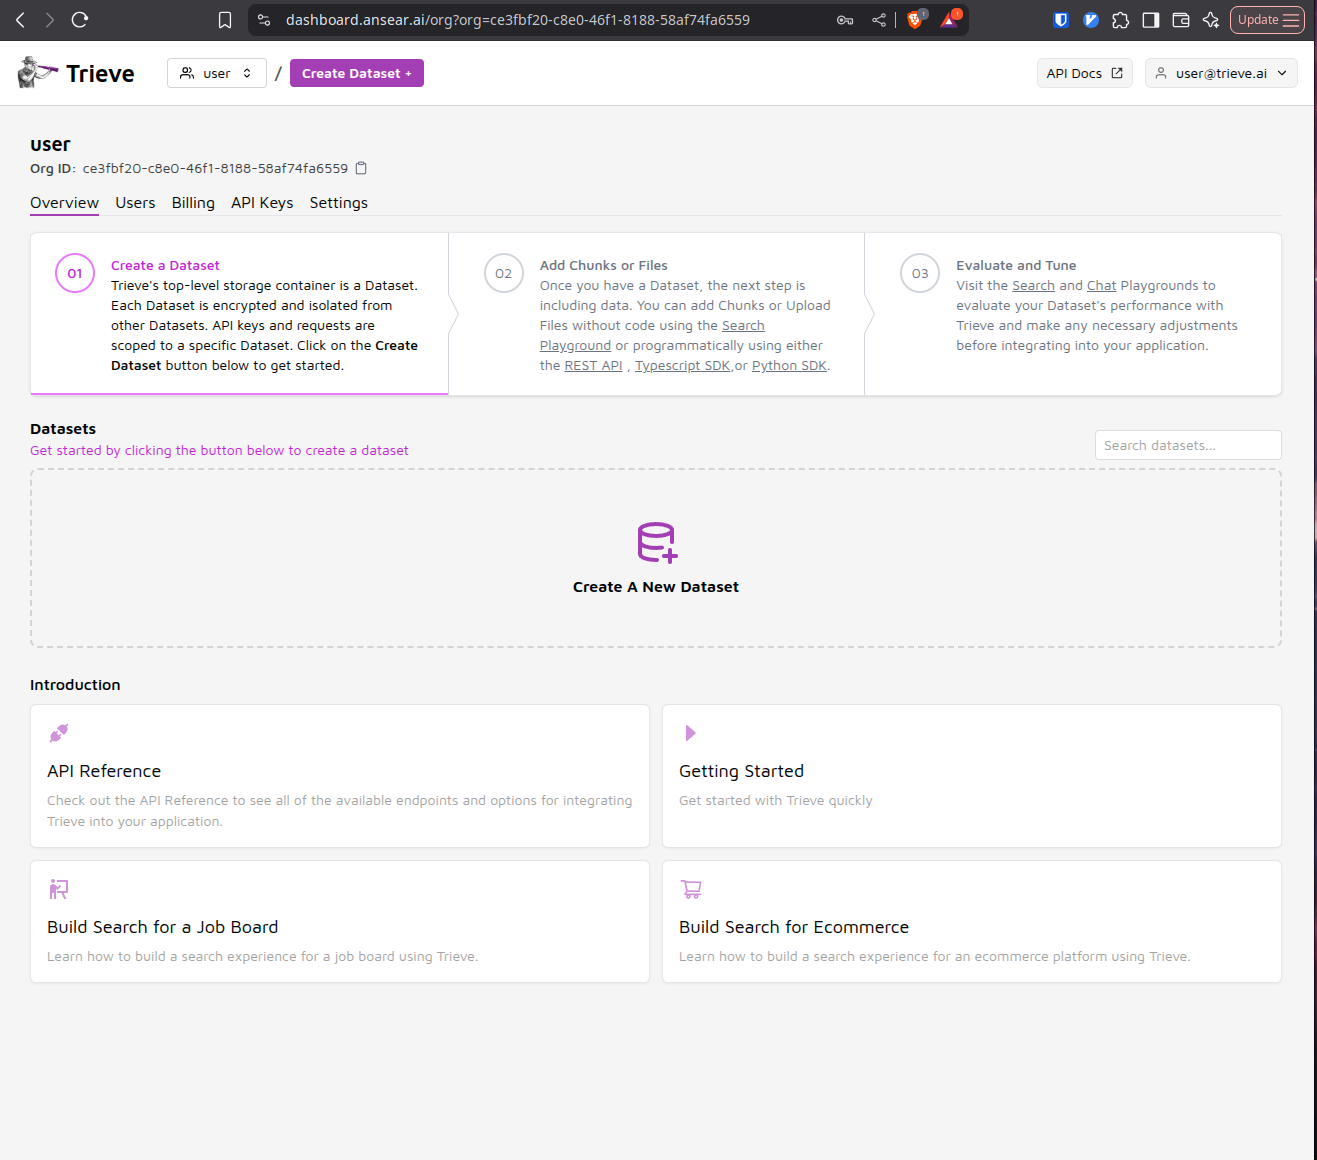
Once logged in, create your first dataset and populate it with some example data. This will help you test the core functionality of your Trieve instance.
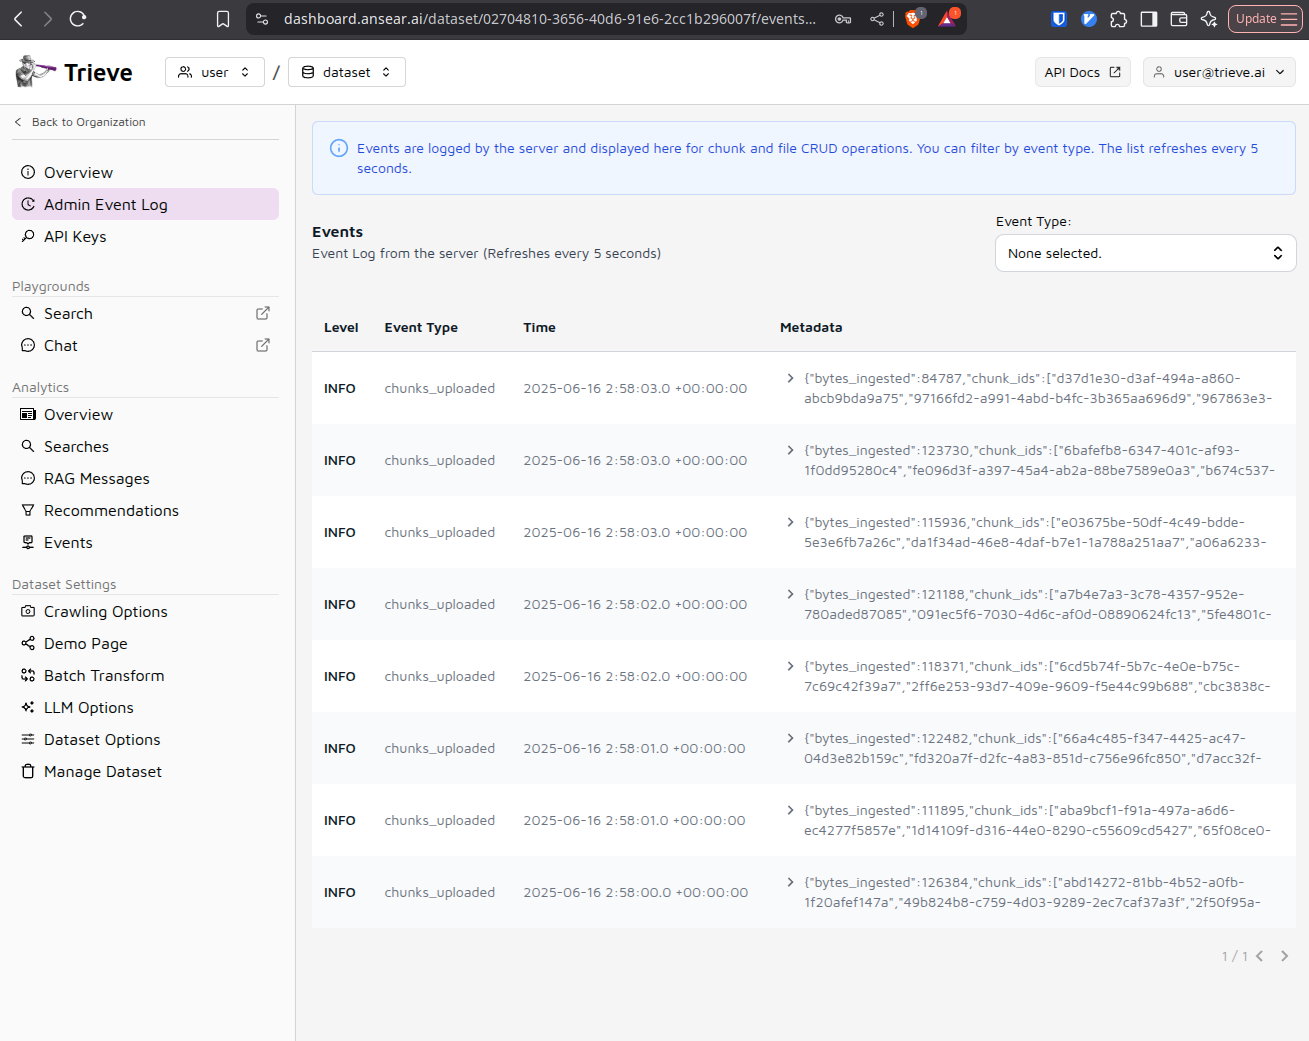
Check the admin event log to ensure that chunks are being created successfully from your uploaded data. This confirms that the ingestion pipeline is working properly.
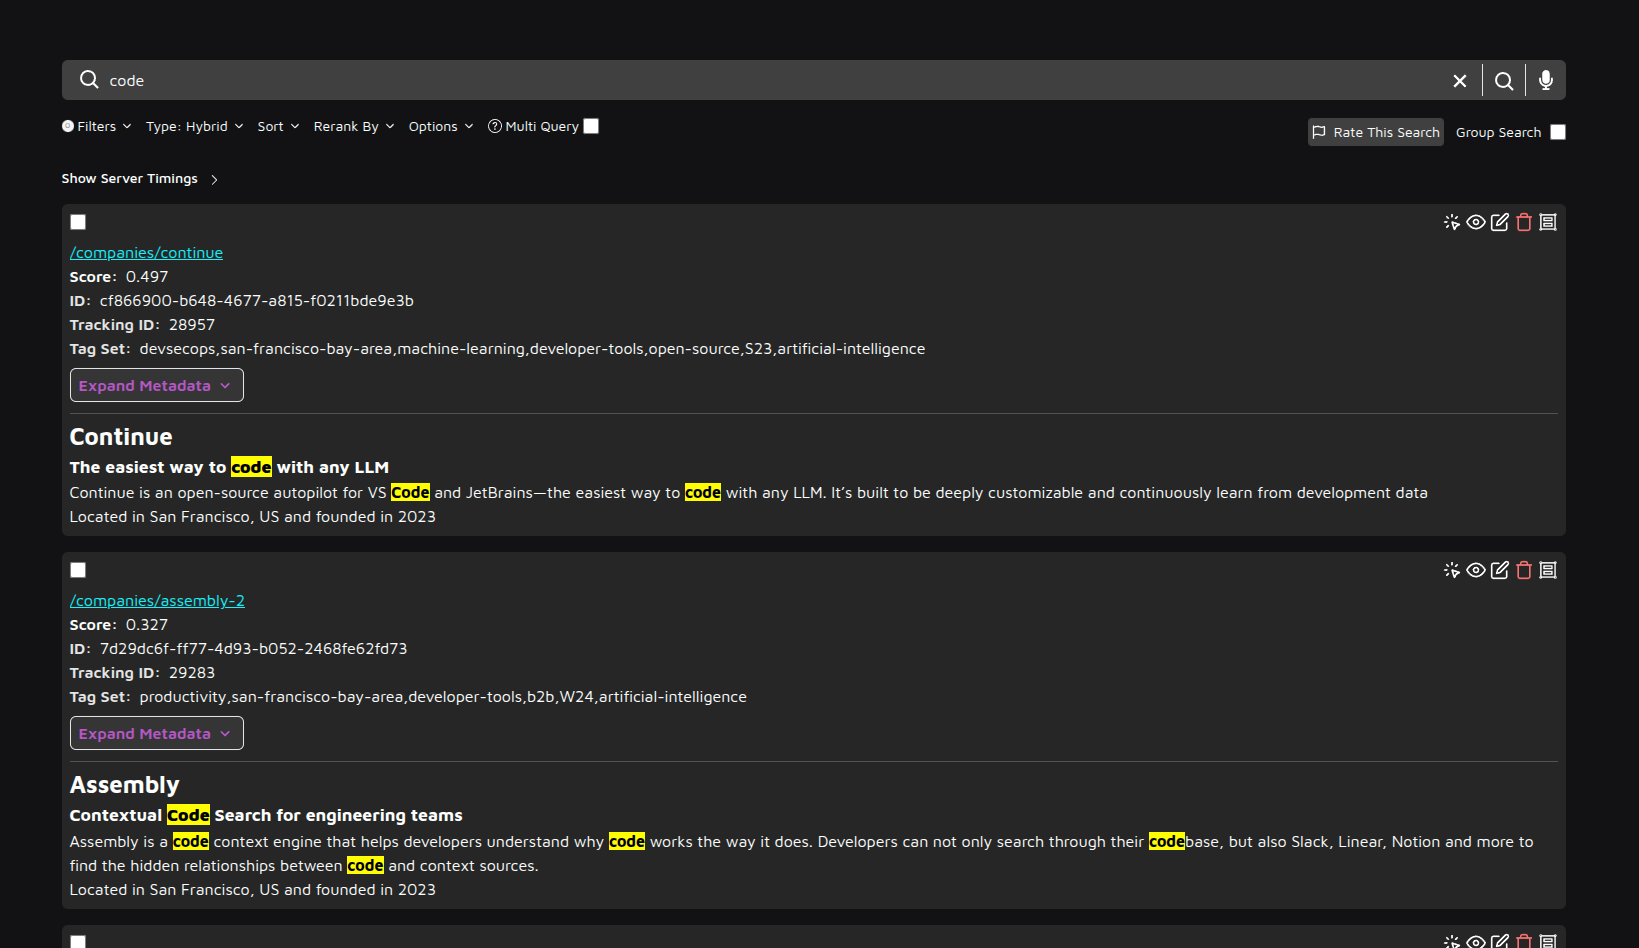
Navigate to `search.yourdomain.com` and perform a test search query using the data you just uploaded. This verifies that the search engine is functioning correctly.
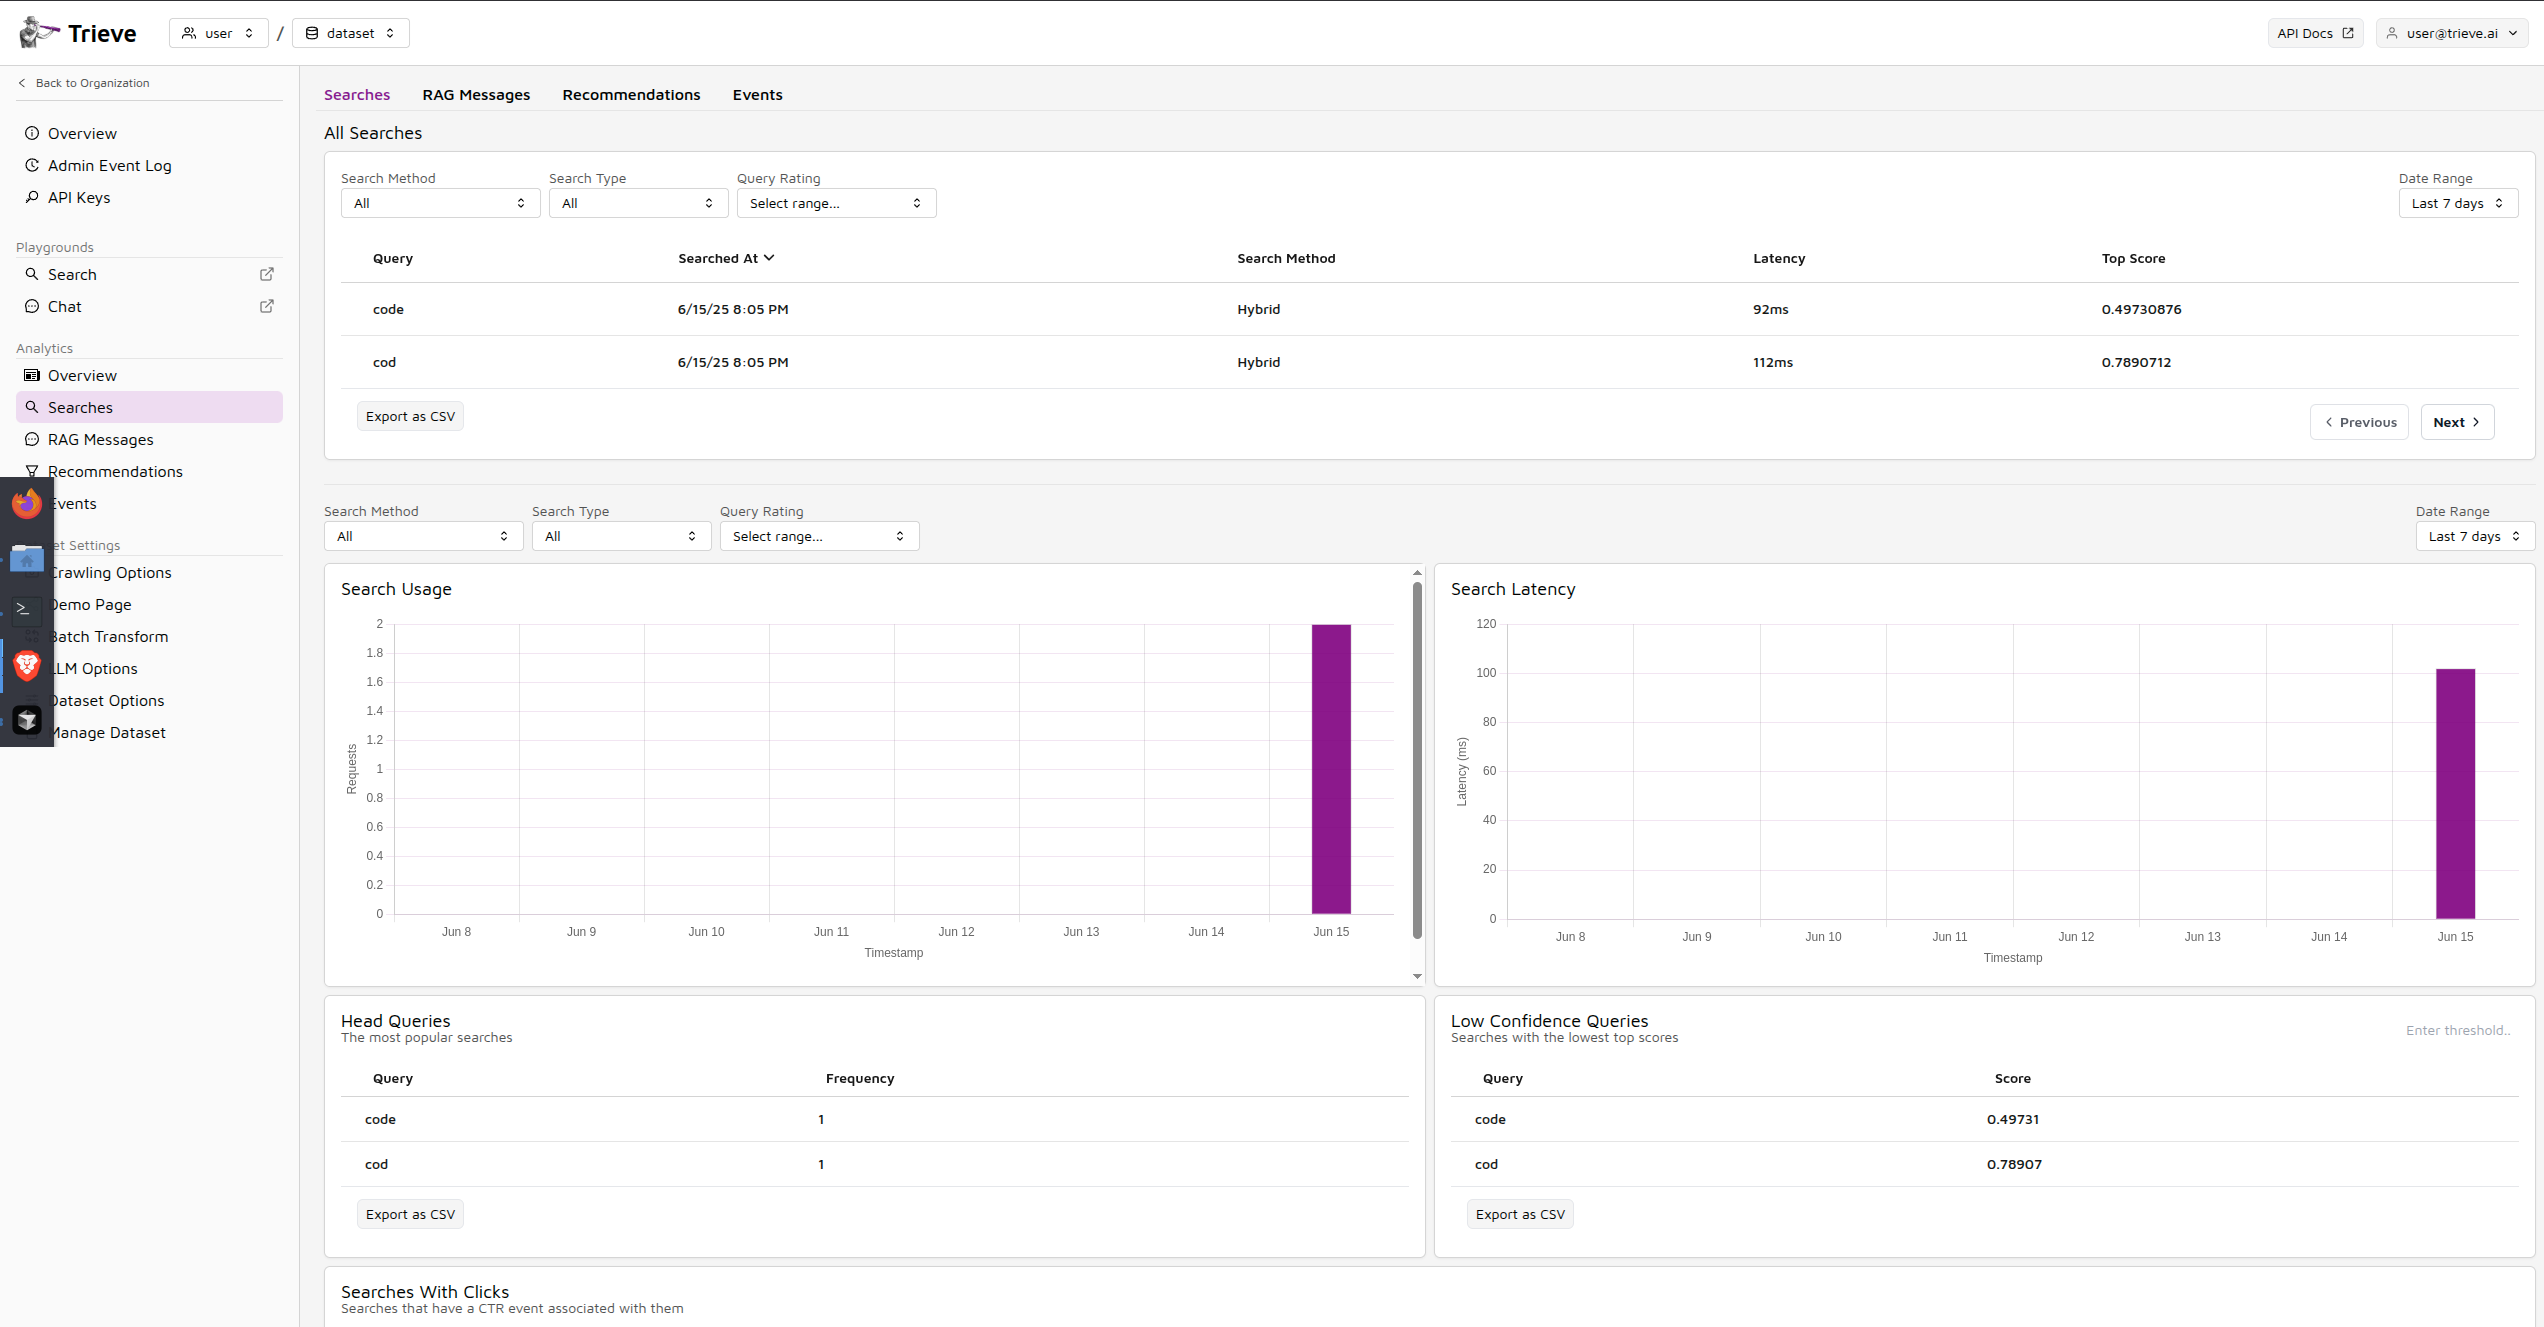
Return to `dashboard.yourdomain.com` and examine your search analytics to confirm that queries are being tracked and analyzed properly.
## 🚀 Congratulations! You're all set! Whats Next?
You now have a fully functional Trieve instance running on Azure. Your self-hosted search infrastructure is ready to handle production workloads. Want to find out what's next?
* [Upload Files](https://trieve.ai/guides/uploading-files) (ensure s3 is configured)
* [Follow Quickstart Guide](https://trieve.ai/guides/quickstart)
* [API Reference](https://trieve.ai/api-reference)
* [Multi-tenency guide](https://trieve.ai/guides/multi-tenency)