This guide will help you set up and run a demo using a sample job listing dataset on the Trieve platform. Follow the steps below to get everything working.
-
Clone the repository:
git clone https://github.com/devflowinc/examples
-
Install the required dependencies:
This demo uses Bun as a runtime. Install Bun by running:
curl -fsSL https://bun.sh/install | bash
Install the dependencies by running:
cd job-board-example
bun install
-
Create an account on Trieve:
Go to Trieve Dashboard and create an account.
-
Create a new dataset and copy the dataset ID.
You can either create a dataset on the Trieve Dashboard or use our CLI
-
Create a new API key and copy the API key.
-
Create an .env
file in the root of the project and add the following environment variables:
TRIEVE_API_KEY=your-api-key
TRIEVE_DATASET_ID=your-dataset-id
-
Download the dataset
wget -O jobs.csv https://query.data.world/s/pgpakbonuiwfiltmu443p474knfork?dws=00000
-
Run the demo:
bun upload-indeed-listings.ts
-
View the results
Head over to https://search.trieve.ai and select your dataset.
Try out a few sample queries like
software engineer at google
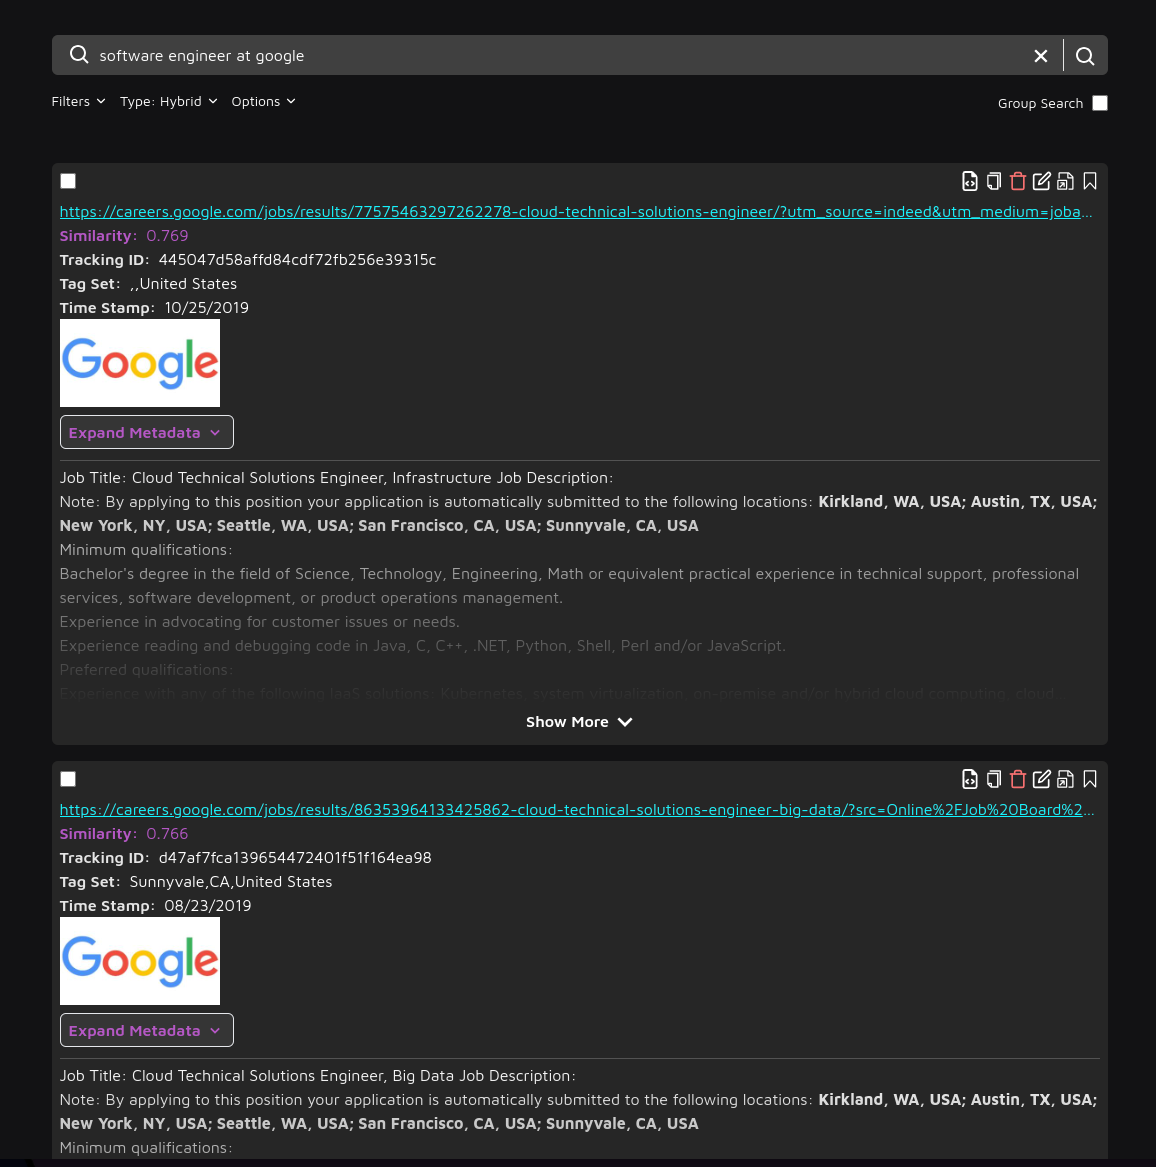
or
show me some listings knowing I have experience as a mechanic
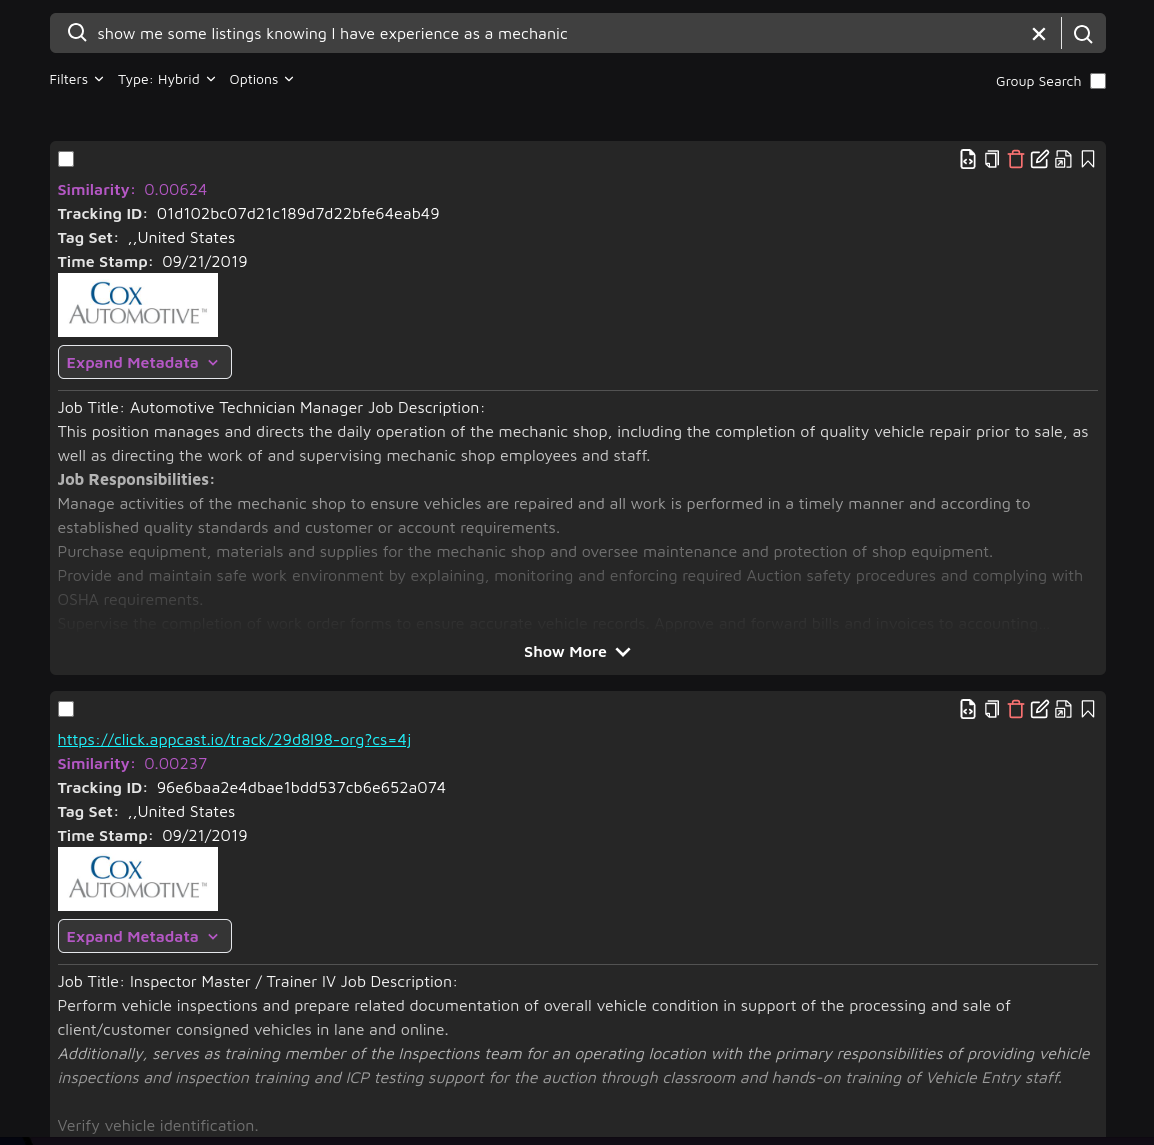
When we receive the CSV data, we need to turn it into a data model to be able to effectively pull the data out of it. The data model for this CSV looks like:
interface JobData {
"Job Title": string;
"Job Description"?: string;
Location: string;
City: string;
State: string;
Country: string;
"Zip Code": string;
"Apply Url": string;
"Company Name": string;
"Employer Logo": string;
Companydescription: string;
"Employer Location": string;
"Employer City": string;
"Employer State": string;
"Employer Country": string;
"Employer Zip Code": string;
"Uniq Id": string;
"Crawl Timestamp": string;
}
The Chunk HTML should contain the data that we want to be searchable. In this case, we include the job title, description and other text fields that provide more context to the embedding model so that it can generate a better embedding to represent the job.
function jobToSearchableString(job) {
let searchableString = "";
const addField = (field, prefix = "", postfix = "\n\n") => {
if (field) {
searchableString += `${prefix}${field}${postfix}`;
}
};
addField(job["Job Title"], "Job Title: ");
addField(job["Job Description"], "Job Description: ");
addField(job["Location"], "Location: ");
addField(job["City"], "City: ");
addField(job["State"], "State: ");
addField(job["Country"], "Country: ");
addField(job["Company Name"], "Company Name: ");
addField(job["Companydescription"], "Company Description: ");
addField(job["Employer Location"], "Employer Location: ");
addField(job["Employer City"], "Employer City: ");
addField(job["Employer State"], "Employer State: ");
addField(job["Employer Country"], "Employer Country: ");
return searchableString.trim();
}
To efficiently upload data, we divide it into chunks. Here’s the code snippet for creating a chunk with the data:
const createChunkData = items.map((item) => ({
chunk_html: jobToSearchableString(item),
link: item["Apply Url"] ?? "",
tracking_id: item["Uniq Id"] ?? "",
tag_set: [
item["Employer City"] ?? "",
item["Employer State"] ?? "",
item["Employer Country"] ?? "",
],
metadata: extractMetadata(item),
time_stamp: new Date(item["Crawl Timestamp"]).toISOString() ?? null,
upsert_by_tracking_id: true,
}));
interface Chunk {
chunk_html: string;
link: string;
tracking_id: string;
tag_set: string[];
metadata: {
[key: string]: string;
};
time_stamp: string;
upsert_by_tracking_id: boolean;
}
const chunkSize = 50;
const chunkedItems: Chunk[][] = [];
for (let i = 0; i < createChunkData.length; i += chunkSize) {
const chunk = createChunkData.slice(i, i + chunkSize);
chunkedItems.push(chunk);
}
for (const chunk of chunkedItems) {
try {
console.log(`Creating chunk`);
const options = {
method: "POST",
headers: {
"TR-Dataset": trieveDatasetId,
Authorization: trieveApiKey,
"Content-Type": "application/json",
},
body: JSON.stringify(chunk),
};
await fetch("https://api.trieve.ai/api/chunk", options);
} catch (error) {
console.error(`Failed to create chunk`);
console.error(error);
}
}
By following this guide, you should be able to set up and run the demo successfully. If you encounter any issues, refer back to the steps and ensure all configurations are correctly set up.